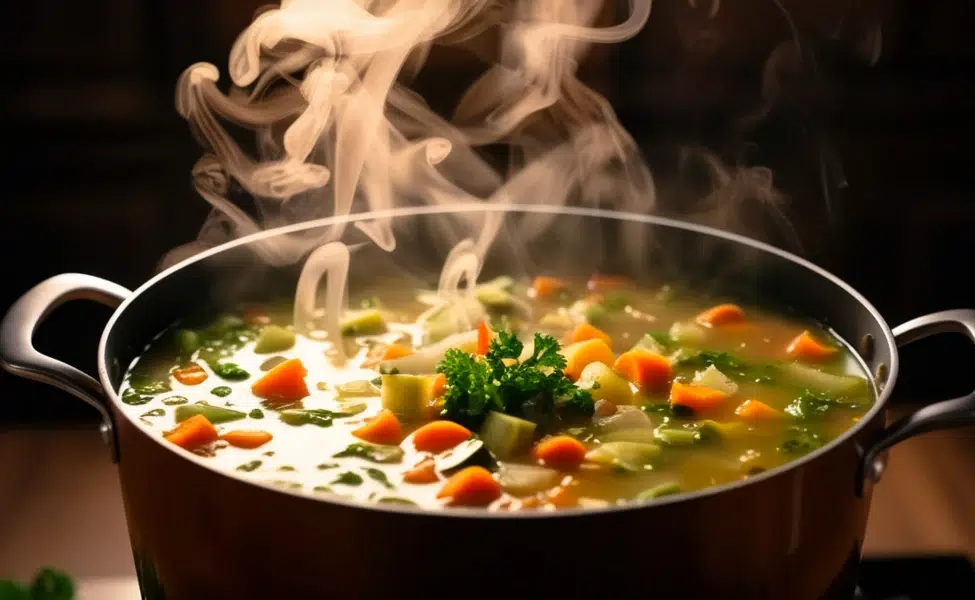
There is almost always soup in my freezer.
Not because I am organized.
Because one evening a week I simply do not want to cook, and I got tired of standing in front of an open fridge at seven o’clock hoping something would suggest itself.
So now, whenever I make soup, I make far more than I need.
A few liters at once.
Then I put it into portions and freeze it.
On a cold evening I take one out, warm it up, and toast a slice of bread next to it.
That is dinner.
It takes about ten minutes and none of it really counts as cooking.
Here is exactly how I do it, and the few things that are worth getting right.
What you need before you start
Not much, and you probably have most of it.
Containers that hold one portion.
Whatever you have is fine: small plastic tubs, glass jars with straight sides, or freezer bags.
What matters is that one container is one meal for you, not four.
A marker and some tape, or a sheet of labels.
Space in the freezer.
This is the part people skip.
If the freezer is already full, the soup has nowhere to go and the whole thing quietly stops happening.
Step 1: Make more than you need
If you are going to stand there chopping an onion, chop three.
Soup is forgiving this way.
Almost nothing about it gets harder when you double or triple it, except stirring a heavier pot.
The work is in the starting, not in the quantity.
I usually aim for enough for one dinner now, and four or five in the freezer.
The catch: making exactly one extra portion.
It is not worth the washing up.
If you are doing this at all, do it properly.
Step 2: Put it into portions while it is still hot
This is the step that surprises people, and it is the one that matters most.
Do not leave the big pot on the stove to cool down.
A full pot holds its heat for hours, and that slow, warm middle is exactly where bacteria are happy.
The USDA is blunt about it: a big pot of soup takes a long time to cool on its own, which is precisely the window when bacteria multiply.
Dividing it into smaller containers while it is hot is the safer route.
So ladle it straight into your containers.
Small amounts lose heat fast.
A big pot does not.
Leave a thumb’s width at the top of each container.
Liquid expands when it freezes, and a jar filled to the brim will crack or push its lid off.
Step 3: Cool it quickly
Once it is in the containers it cools on its own, and fast.
If you want to hurry it, stand the containers in a sink of cold water.
Or put them straight into the fridge, hot as they are.
The USDA is fine with both.
There is a clock on this, and it is worth knowing: within two hours of cooking, leftovers need to be refrigerated.
That is the whole rule.
If you portion it hot, you are well inside those two hours without trying.
Step 4: Write on it
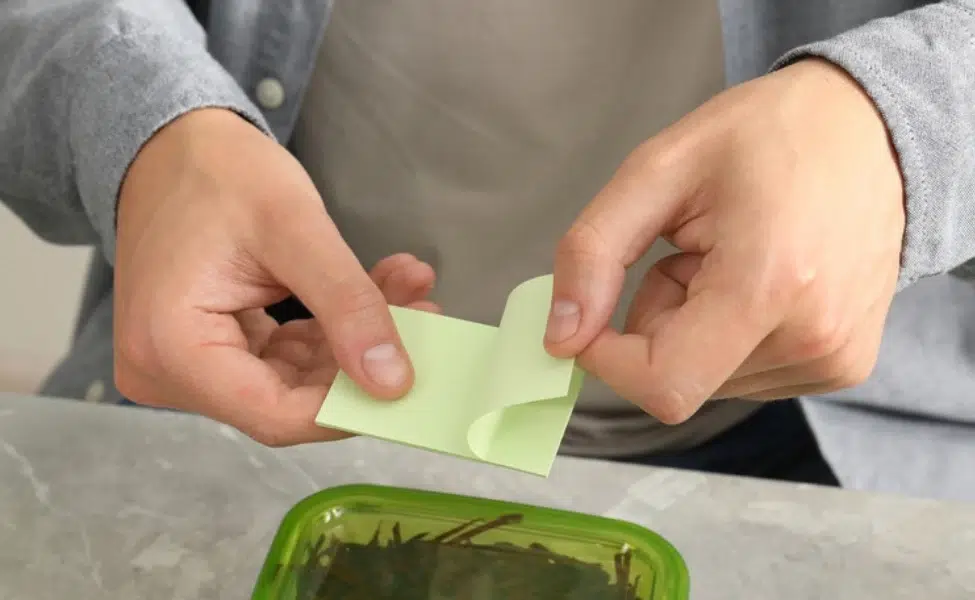
Every container gets two things: what it is, and the date.
I know how obvious that sounds.
I also know what an unlabelled tub of orange something looks like in February, and that you will not eat it.
Write it before it goes in, not after.
Marker does not take to a cold, damp lid.
Step 5: Freeze it flat if you can
If you are using bags, lay them flat until they are solid.
Flat packets stack, stand upright in a box, and thaw faster than a brick.
If you are using tubs, that is fine too.
Stack them in one place rather than scattering them, so you can see at a glance how many dinners you have.
Step 6: Warm it straight from frozen
You do not have to plan ahead.
You do not have to remember to take it out in the morning.
Frozen soup goes from the freezer into the pan, no thawing needed.
Tip it in with a splash of water, put a lid on, and leave it on a low heat.
It will loosen, then slump, then come back together.
Stir it now and then.
Heat it until it is properly hot all the way through.
Let it come up to a boil, then take it straight off the heat.
The USDA asks for a boil, and a moment of one is enough.
It is the long, rolling boil that cooks the flavor away, and the soup you spent an afternoon on deserves better than that.
What “done” looks like
Open your freezer and you can count your dinners.
Four or five labelled containers, all roughly the size of one meal, all with a date you can read.
That is the whole system.
There is nothing else to maintain.
The first time you use one on an evening you were dreading, you will understand why I keep doing this.
How long it really keeps
Two different answers, and people mix them up.
Safety: frozen food stays safe indefinitely.
That is not my opinion, that is the USDA.
At freezer temperatures, bacteria simply do not grow.
Quality is the real limit.
The same source gives two to three months as the sensible window.
Not because the soup turns dangerous, but because it slowly stops tasting like the soup you meant to make.
In a house of one or two, three months is plenty.
Mine rarely last that long.
The soups that do not love the freezer
Most soups freeze beautifully.
Vegetable, bean, lentil, tomato, anything broth-based.
The one thing I have learned the hard way is creamy soups.
The cream separates in the cold, and the texture never quite comes back the same.
So now, when I plan to freeze a soup that would normally get cream stirred in at the end, I stop just before the cream.
The base goes into the freezer plain.
When I warm it up and it is properly hot, I take the pan off the heat, stir the cream through, and serve.
Two extra minutes, and the soup tastes like it did the day I made it.
Potato does something similar.
It can turn a little grainy after freezing.
Pasta and rice keep drinking the liquid and come out soft.
So I leave those out too and add them fresh when I warm the soup up.
None of that is dangerous, just disappointing.
And easy to work around once you know.
If you only do one thing
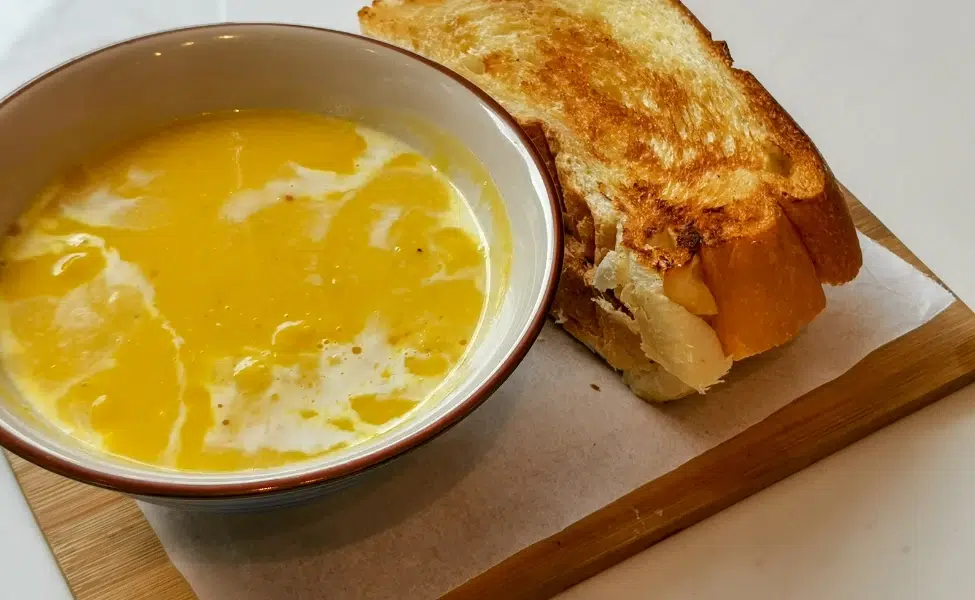
Next time you make soup, make three times as much and put the rest into portions before you sit down to eat.
That is it.
No system, no planning session, no new habit to keep up.
Just a freezer with a few dinners in it, waiting for the evening you do not feel like cooking.
And you are allowed to have those evenings.